


Shredder
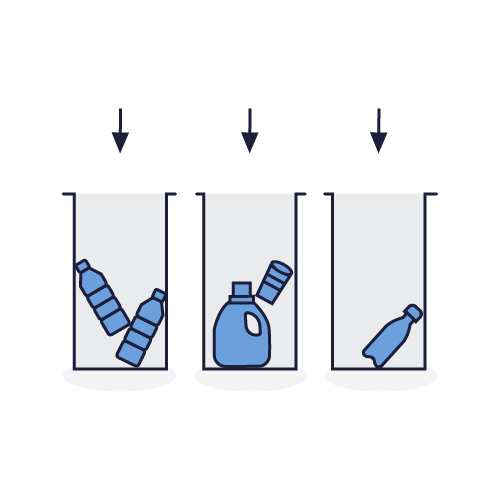
Plastic waste can come in many shapes and sizes. To facilitate its transformation, it is shredded into small chips of a uniform size. In this form, it can be more easily recycled.
1. General overview
1.1. Introduction
Essential in the recycling process, the shredder reduces the volume of post-consumer or industrial waste. Shredding techniques are widely used in today’s industry. Off-the-shelf machines exist but they remain difficult to access.
The objective was to design, in the Plastic Odyssey workshop, a machine that can be built with simple materials found all over the world, with minimum technical skill and without complex tools.
The role of the shredder
Shredding waste allows the input material to be cut into small pieces: films, strings, bottles, hollow bodies, cans, etc. This step also makes it possible to separate the plastics from various elements such as labels, paper or even liquids.
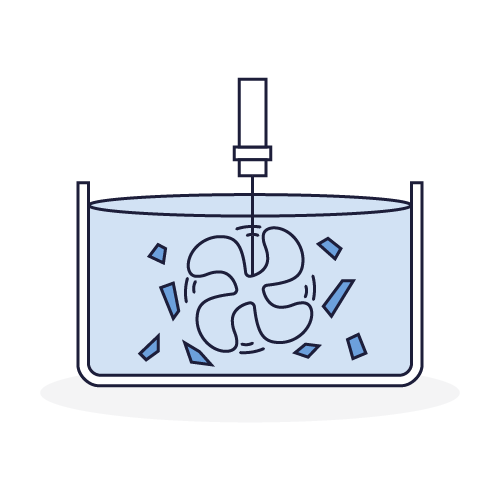
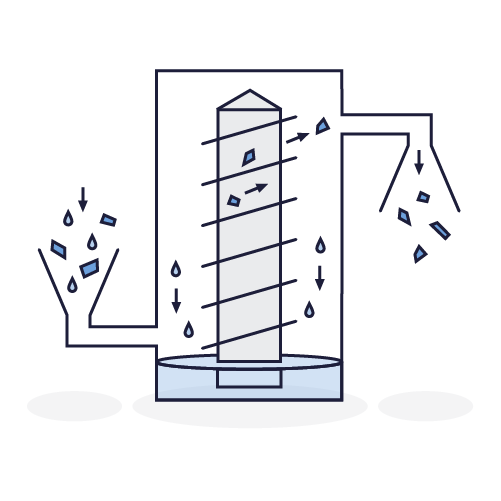
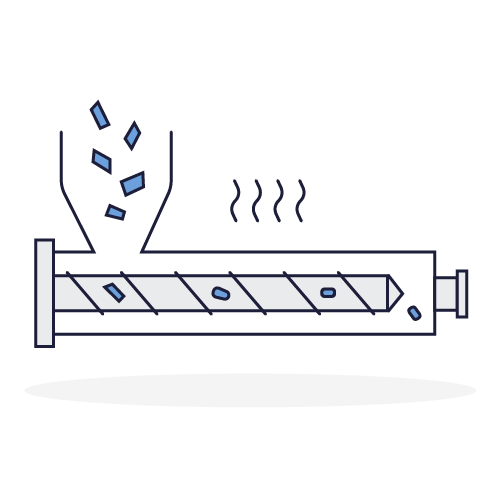
Plastic material is dropped, into the shredder chamber, onto a rotating shaft fitted with blades, which reduce it to chips. Static blades and rotating blades intersect and shear the material until the plastic elements reach the desired granulometry. This may vary depending on the size of the sieve chosen.
The material obtained at the outlet of the mill is called granualate. The shredded material can be reused in plastic processing machines to create new objects.
1.2. The shredder on board Plastic Odyssey
The Plastic Odyssey shredder was developed for more than two years in Marseille. It is the result of numerous meetings with experts. In particular with those from recycling centers close to waste deposits in Cairo, Burkina Faso and Thailand.
The goal was to design a low-tech machine with capabilities similar to the machines found in the recycling industry. That means; a robust, efficient machine capable of handling all types of waste, but above all productive.
Why low-tech? In regards to its manufacturing process: a simple design, the use of universal tools and standard materials.
2. Technical guide
2.1 Technical datasheet
General characteristics
Motorisation
Process
Economic and environmental
Manufacturing
2.2. Connections and Sockets
Network Connections
Sockets
3. User guide
3.1. Preparation
Mandatory protection:

Coveralls

Safety shoes

Protective gloves

Safety glasses

Noise cancelling ear muffs
Necessary Equipment:
- An air compressor
Good practices:
- Start the motor before putting plastic waste into the hopper
- Gradually add plastic waste into the hopper
- Observe if the material is accepted by the shredder
- Have a qualified person open the hopper
- Switch off the shredder before emptying the recovery box
- Do not put your hands in the hopper
- Ensure you have read the information specified in the information sheets: Jobsite Information Sheet, Safety Sheet
Verification
Before any use, visually check the mechanical condition. Periodically check the condition of the equipment (see maintenance sheet).
3.2. Usage

- Start the engine by pressing the ON button

- Pour plastic waste into the hopper
The amount of plastic poured into the hopper must be adjusted according to the capacity of the machine to shred the waste. Be careful not to overload the shredder. The presence of an operator is needed at all times to ensure the flow of material.

- Empty the collection bin when it is full
Stop adding plastic into the hopper and, once the shredding chamber is empty, stop the engine, before removing the collection bin.

Shutdown procedure:
- Let the machine shred all the waste still present in the hopper.
- Cut the power to the motor using the OFF button

- Blow compressed air inside the hopper

- Empty and clean the collection bin
4. Safety
4.1. Training
The operators who interact with the shredder must be aware of and respect the information relating to the use of the machine, the risks of using the machine, and the appropriate safety practices.
4.2. Risks
- Crushing of fingers associated with handling the recovery box
- Impact due to the projection of an object
- Winding / entanglement of clothes or objects due to the rotating system
- Projection of plastic chips
- Cuts due to handling rough chips
- Cuts due to contact with the rotor
- Crushing due to contact with the rotor
4.3. Operator behavior
- Do not put your hands in the hopper
- Do not put your head in the hopper
- It is prohibited to open the hopper without having the required qualification
- Observe the type of material accepted by the shredder
4.4. Personal protective equipment
- Safety shoes are compulsory throughout the workshop and around all the machines.
- The operator has to handle plastic chips which can be rough, protective gloves are therefore mandatory to handle the chips safely.
- Plastic chips can occasionally be violently thrown, therefore protective goggles must be worn.
- The shredding of plastic waste generates a lot of noise. Ear muffs or ear plugs are necessary to protect the operator from the surrounding noises.
- The operator must wear suitable work clothes.
4.5. Safety features
Safety features guarantee the safety of operators on the shredder. Make sure they are correctly installed before use:
- The hopper is closed with the fixing systems provided for this purpose.
- The belt guard is correctly positioned and secured.
- The anti-projection rubber bands present on the hopper are functional.
- The button cuts the circuit installed on the hopper is functional.
4.6. Work zone
A work zone around the machine is defined by a marking on the ground.
Access near the machine, whilst it is in operation, is permitted only to trained and equipped operators.
4.7. Jobsite information Sheet
The shredder is equipped with a Jobsite Information Sheet which includes all the information necessary for the use of the machine in good safety conditions. It must be positioned in view of all operators using the shredder.
4.8. Verification/Maintenance
Preventive and corrective maintenance activities must only be carried out by a person trained for this purpose. Each intervention must be recorded in order to keep a history of the maintenance actions carried out.
5. Cleaning and Maintenance
5.1. Maintenance schedule
Day to day
Weekly
Monthly
Yearly
5.2. Cleaning schedule
Day to day
Weekly
Monthly
Yearly
5.3. Intervention protocol
Before carrying out any maintenance, adjustment or repair intervention requiring partial or complete dismantling of parts of the shredder, it is necessary to follow these protocols.
Electrical
- Set the power button to Off
- Activate the emergency stop button, and if accessible, switch off the main power
- Mechanically block the power button with a padlock
- Check the absence of voltage on each of the active conductors (including the neutral) using a specially designed VAT device
Mechanical
- Wait for the rotors and fans to come to a complete stop
- Uncouple the belts
- Mechanically block the rotor
- Visually check for dissipation of motor force and immobilization of moving parts